Maintenance
Part of Home printers and scanners: matching volume, paper, and true running cost
Checklist for a used printer or scanner: page counts, drums, and ports
Used printer and scanner checklist for identity, page counts, supplies, nozzles, drums, rollers, glass, feeders, ports, networks, accounts, and test output.
What to take away
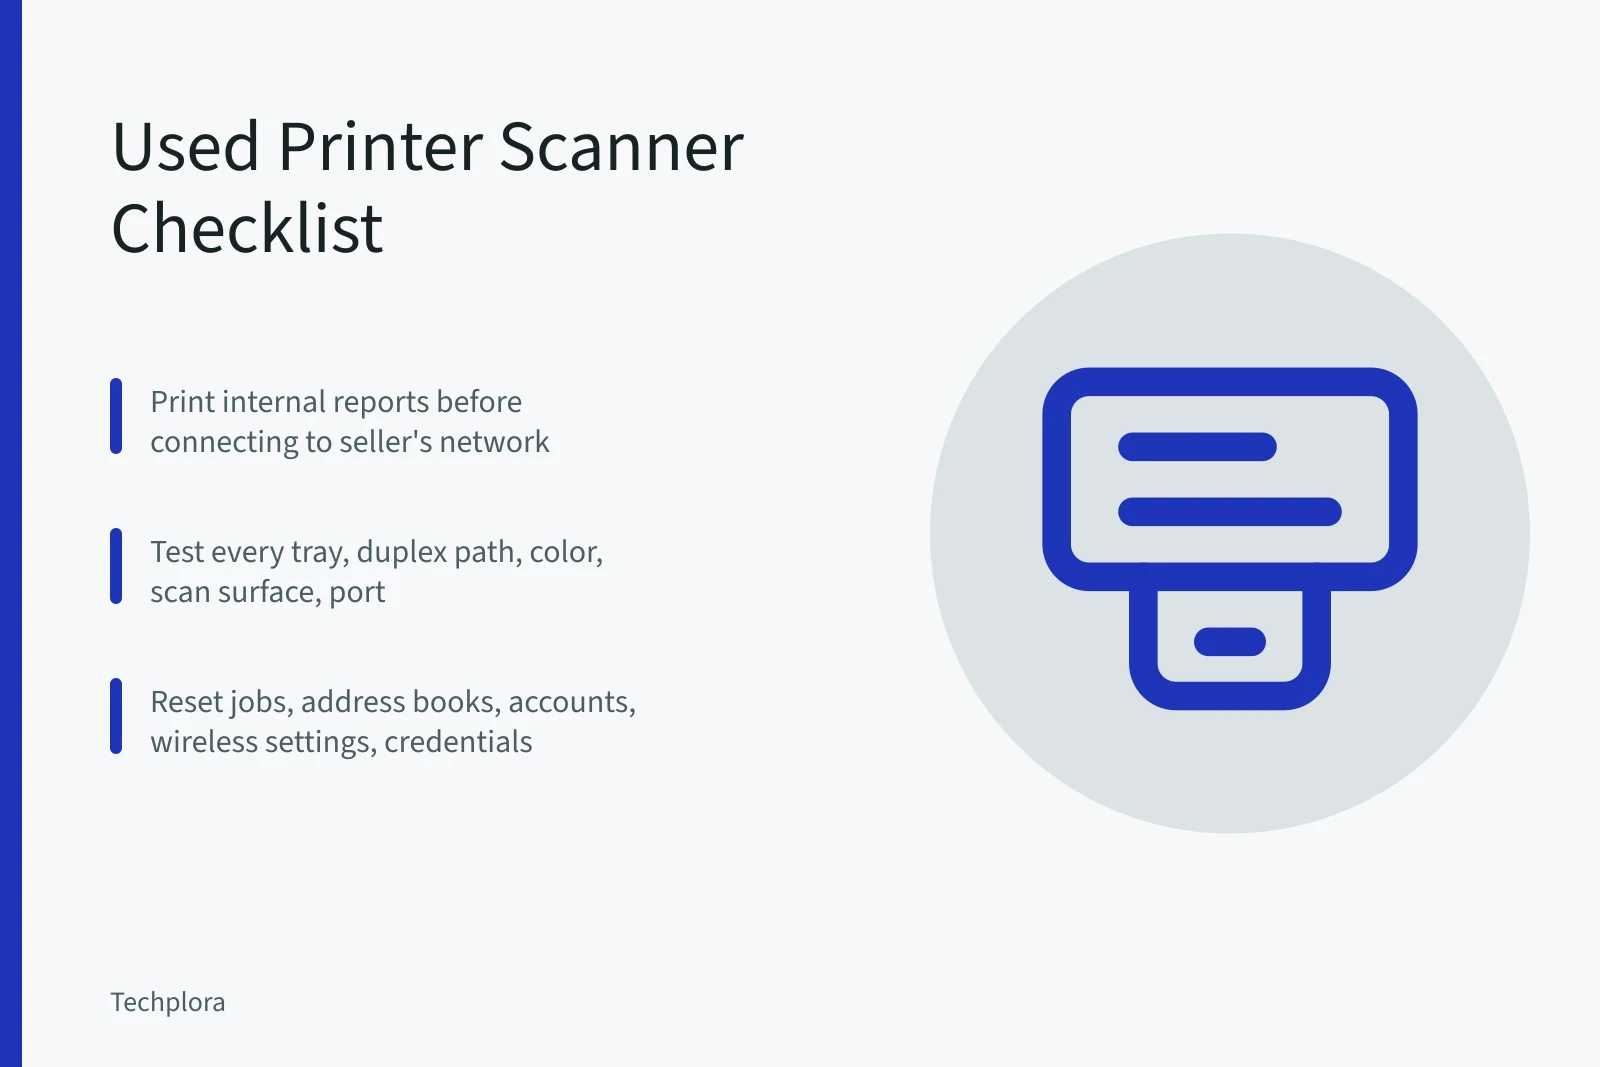
- Identify the exact model, region, page count, firmware, supply system, and software support first.
- Print internal reports before connecting a seller's computer or network.
- Test every tray, duplex path, color, scan surface, feeder side, port, and control.
- Price all near-life supplies and maintenance parts, not only ink or toner.
- Reset stored jobs, address books, accounts, wireless settings, and administrator credentials before use.
A used printer can look cheap because its costliest parts are nearly empty or worn. A used scanner can give a clean preview while a dirty narrow feeder strip lines every multipage scan.
Inspection should create output, not just check power lights. The used headphone and speaker inspection checklist uses the same rule for audio gear: proof, not lights.
Ask for evidence before meeting
Evidence to request before meeting
- Full model, serial, purchase date, region
- Page and scan counts, supply levels
- Repair history, error codes, network history
- Included power equipment, trays, duplexer, feeder
- Cables, discs, manuals, reason for sale
- Current photographs with doors and trays open
Look up the model's operating-system support, firmware, mobile features, security notices, maximum paper sizes, supply numbers, printhead or drum design, waste units, maintenance kits, scanner limits, and reset process. Price a complete supply replacement and common service parts. The home printer and scanner buying guide explains which of those specifications rule a model out.
Check official recall and safety information. Save the listing and messages. Written return terms should allow enough time to test from cold start, after warm-up, through sleep, and on the intended network.
Inspect the structure and paper path
Unplug if the maker permits and use bright light. Check power cord, adapter, case, hinges, trays, guides, rollers, doors, latches, ports, vents, and labels. Look for cracks, missing pieces, toner or ink leaks, corrosion, insect debris, scorched areas, heavy dust, torn labels, and liquid stains. A used laptop inspection checklist covers the same port and label checks before you pay.
Do not reach into a laser printer's fuser area until the manual says it is cool and safe. Do not touch an imaging drum, transfer surface, printhead contacts, or encoder strip. Never rotate gears or force a carriage to make it move.
Inspect for scraps and foreign objects without metal tools. Check that every required tray and output support extends and locks. Paper guides should move evenly and hold position.
Confirm identity and counters
Start the printer without joining a network. Compare the rear label with the control-panel model, serial, firmware, supply report, network page, event log, and page count where available. A replaced board can cause mismatches that deserve explanation.
Idle inkjets are suspect. Wikipedia's ink cartridge page explains ink flow is hindered when ink dries at the print head, as when a cartridge runs low or sits. Each droplet must fire cleanly through its tiny nozzle.
Print a test page after one documented cleaning cycle and judge from that. Repeated deep cleaning consumes supplies without fixing a damaged head.
Counts are context, not a complete health score. Media type, environment, job length, cleaning, supply quality, and maintenance matter too.
Test print quality from the device
Use fresh, supported plain paper and the installed supplies. Print a nozzle or quality pattern, black text, thin horizontal and vertical lines, grayscale, and color blocks. Look for:
Test print quality
- missing nozzles or color bands
- repeated spots at a fixed interval
- light or dark vertical streaks
- background toner or ink
- skew, wrinkles, curl, and smearing
- misregistration between colors
- poor fusing or ink that remains wet
Perform at most the documented maintenance steps agreed with the seller. Deep cleaning can consume ink and conceal a recurring clog for a short time. Keep before-and-after pages.
Test every paper route
Load each tray, manual feed, and rear feed. Print one-sided and duplex pages at supported sizes. Test an envelope or specialty sheet only if the manual approves it and the seller agrees. Listen for pickup slips, grinding, clicking, and repeated attempts.
Run a batch long enough to reveal heat or feeder problems. Confirm that output stacks without falling or colliding with a wall.
Test the scanner as a separate device
Clean only by the maker's method. Scan a clean test sheet on the flatbed at low and higher resolution, in color and grayscale. Check edge focus, straightness, tint, dust, banding, and the entire bed. Then test the automatic feeder with at least ten expendable pages, including duplex if supported.
Wikipedia's article on the image scanner explains that scanning rides its own software path: applications acquire images through scanner drivers such as the TWAIN standard, and in practice driver support varies by model and system. Printing therefore does not prove that scanning is installed or working. Save and reopen every test file.
Do not feed originals that are important, brittle, torn, stapled, curled, or irreplaceable during a used-device test.
Check connections and stored data
Test direct USB first if supported, then Ethernet or Wi-Fi on an isolated trusted network. Print and scan from the operating systems and phones you need. Verify sleep, wake, address stability, mobile discovery, and job cancellation.
Before purchase, have the seller remove cloud accounts, stored email destinations, address books, fax logs, saved jobs, wireless credentials, administrator settings, and storage media through the documented reset. Confirm that initial setup and password creation succeed. The printer and scanner setup guide then rebuilds those credentials safely at home.
Price what remains
Record remaining ink or toner, drum life, maintenance box, waste toner, fuser, transfer unit, rollers, printhead, and feeder kit. The inkjet, laser, and ink-tank comparison explains what each of those parts costs across systems. Confirm whether starter or third-party supplies are installed and whether warnings or quality change with replacements.
Add transport, supplies, driver risk, cleaning, service, and downtime to the price. Move the device in the orientation and packaging specified by the maker; some ink systems require transport preparation.
Common questions
Is a low page count proof of good condition?
No. Long idle time, clogs, environment, storage, leaks, impact, and unsupported software can matter more.
Can I judge print quality from a seller's photograph?
No. Print fresh internal and computer pages and keep them. Images can hide banding, color, smearing, and recurring marks.
Does an all-in-one that prints also scan?
Not necessarily. Test flatbed, feeder, duplex, software, network discovery, file saving, and opening independently.
Should I transport an inkjet immediately after filling it?
Follow the exact transport procedure. Some models require caps, locks, upright orientation, or other preparation to prevent leaks.