
Guides
Part of Laptop buying guide: a framework for comparing options
Planning a laptop upgrade around the real bottleneck first
Plan a laptop upgrade by confirming the bottleneck, exact model, compatible part, service manual, backup, tools, safety steps, software needs, and final tests.
What to take away
- Prove the performance limit before ordering a part.
- Identify the exact laptop, board revision, slots, supported parts, and access procedure.
- Read the whole service manual and protect data before opening the case.
- Treat batteries, static, connectors, antennas, screws, and adhesives as separate risks.
- Verify recognition, stability, thermals, wireless function, and data after reassembly.
A laptop upgrade succeeds when the selected part addresses a measured limit and the computer returns to full, stable operation. A physically fitting module can still be electrically, mechanically, firmware, or software incompatible.
1. Measure the limit
Reproduce the slow or constrained task. Record memory use, storage activity, free space, processor and graphics load, network rate, temperature, and elapsed time with the operating system's tools. Close unrelated work and repeat.
Measure the real bottleneck
- Reproduce the slow task
- Record memory use and paging
- Record storage activity and free space
- Record processor and graphics load
- Record network rate and temperature
- Close unrelated work and repeat
More memory helps when workloads exceed available memory, causing sustained paging or application failure. Faster or larger storage helps when capacity or storage performance is the constraint. A wireless module does not fix poor service, congestion, router placement, or an unsuitable antenna system.
If the measured limit is the whole platform, weigh the upgrade, repair, or replace decision before buying parts.
If the laptop is unstable, overheats, has a swollen battery, or loses power, diagnose that fault before adding parts. The repair diagnosis guide shows how to pin such a fault down first.
2. Identify the exact machine
Record the full model, serial number, machine type, board revision where relevant, processor, firmware, operating system, current memory layout, storage interface, and wireless module. Similar retail names can contain different boards and expansion options.
Confirm exact model and compatibility
- Record full model, serial, machine type
- Note board revision, processor, firmware
- Check socketed or soldered component
- Check slot count, location, and keying
- Check supported type, size, and capacity
- Check firmware or approved-part limits
- Check clearance, heatsink, shield, antenna
Find the maker's service manual, parts list, specification sheet, and support page for that identifier. Check:
Identify the exact machine
- whether the component is socketed or soldered
- number and location of slots
- supported type, size, dimensions, keying, and capacity
- firmware or approved-part limits
- single-sided or double-sided clearance
- heatsink, shield, bracket, antenna, or cable requirements
- recovery, cloning, encryption, or driver steps
Do not rely on a retailer filter as the only evidence. Physical form also tells less than it seems.
Laptops that accept memory upgrades usually take SO-DIMM modules, about half the length of desktop memory. They come in many speeds and capacities, so a module that fits the slot can be the wrong part for the platform.
3. Decide who should perform the work
Opening difficulty ranges from a service door to adhesive, hidden fasteners, fragile clips, and a battery that must be isolated before reaching the part. Compare your tools, experience, static-control setup, data risk, warranty terms, and ability to recover from a failed boot.
Use qualified service when a battery is swollen, the procedure involves live electrical work, critical data lacks a backup, or the manual requires tools and controls you do not have. The repair route comparison prices those alternatives honestly.
4. Prepare data and recovery
Back up important files and open representative copies. Save encryption recovery keys separately. Create or confirm bootable recovery media where the platform uses it. Record application licenses, network settings, and the current drive layout. If the work goes to a shop instead, prepare the device for repair the same way.
For storage replacement, decide among cloning, clean installation, and file restoration. Cloning can preserve configuration but also carries old problems and needs careful source and destination identification. A clean installation requires drivers, applications, accounts, and data restoration.
5. Gather the complete kit
Obtain the confirmed part, correct drivers or firmware, service-manual tools, static-control equipment, trays for fasteners, suitable lighting, and any specified adhesive, shield, pad, or bracket. Label screws by step and position because equal-looking screws can have different lengths.
Work on a clear, stable, nonconductive surface. Power down fully, disconnect external power, and follow the manual's battery-disconnection sequence. Do not improvise around a damaged battery.
6. Perform only the documented procedure
Follow the manual in order. Photograph cable routing and antenna placement before moving anything. Release connector locks in the specified direction. Never force a module that does not seat at the documented angle or depth.
For memory, keep matched requirements and slot order in view.
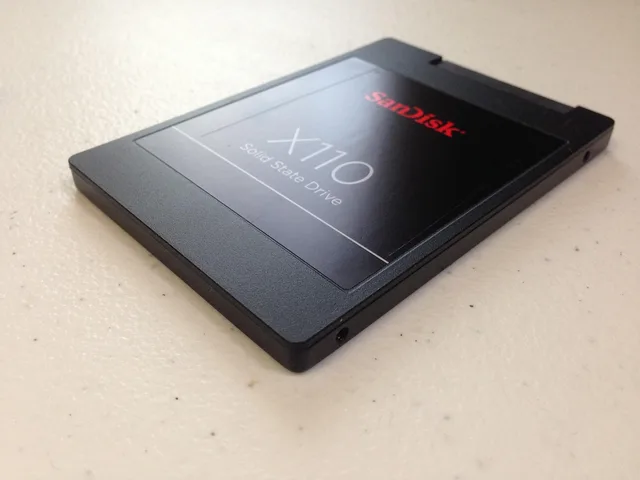
For storage, M.2 modules come in several lengths and key positions, and they can carry either SATA or an NVMe interface behind the same slot shape, so confirm the supported combination. Transfer brackets or thermal material only as directed. For wireless modules, match antenna leads to their labeled terminals and avoid crushing the fine cables.
Stop if the internal layout differs, a fastener will not release, a connector is damaged, or the replacement label does not match the confirmed part.
7. Test before declaring success
After reassembly, confirm that firmware and the operating system report the new component correctly. Run the maker's hardware test and a workload tied to the original limit. Check sleep, wake, charging, battery status, keyboard, trackpad, ports, sound, camera, and wireless because opening can disturb nearby parts.
For memory, run a sustained memory test and watch for errors or restarts. For storage, verify capacity, encryption, health reporting, boot, update, backup, and representative files. For wireless, test each supported band, Bluetooth, sleep recovery, signal behavior, and throughput at controlled locations.
Record the part, date, firmware, test results, and original-part storage. Keep the backup until normal use remains stable. And if the upgrade only proves the platform's limits, the laptop buying guide is the next stop.
Common questions
Can I add memory to any laptop?
No. Memory may be soldered, slots may be full, or the platform may limit type and capacity.
Is an SSD clone always easier than a clean installation?
No. It can preserve the system, but encryption, partition layout, corruption, and destination size can complicate it.
Do matching connectors prove compatibility?
No. Electrical interface, dimensions, firmware, capacity, keying, and maker limits also matter.
What should I do with the original part?
Label and protect it until the upgrade is stable, then reuse, sell, return, or recycle it through an appropriate route.